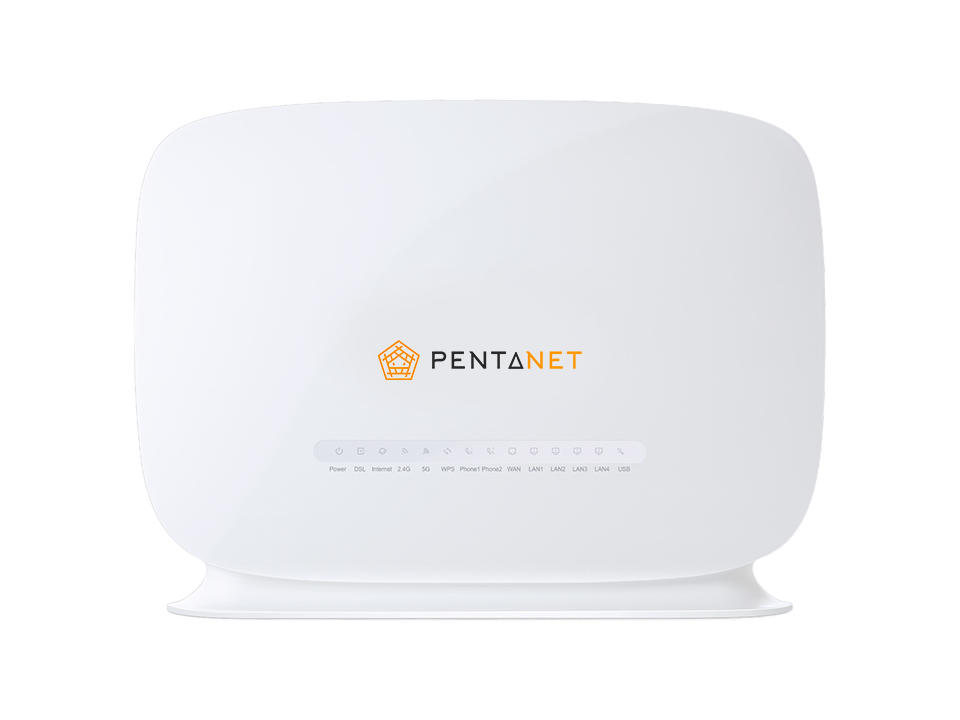
Here’s how to set up your TP-Link VR1600v Modem/Router on the Pentanet network, let's go!
Before you begin
You'll need to know what technology type your Pentanet service uses as the steps vary between technology types. You'll also need to know your Pentanet PPPoE authentication username and password.
You can find this information in the welcome email we sent you, your Customer Portal under the Services > Settings section, or just reach out to our friendly team who can assist if you're unsure.
Configuring your TP-Link VR1600v
-
This section applies to NBN FTTN (Fibre to the Node) and FTTB (Fibre to the Basement) connection types.
- Plug in the power adaptor and power on the device.
- Use the supplied ethernet cable to connect a computer to one of the yellow LAN ports. You can also connect wirelessly, however, we recommend an ethernet connection.
- Connect your Pentanet service to the grey DSL port on the back of your TP-Link.
- Using a web browser navigate to http://192.168.1.1, and log in with the username
adminand the passwordadmin. (If the default login doesn’t work you may need to factory reset your device). - Select the Advanced tab.

- Select the Network tab.

- Select DSL from the menu.

- Delete any pre-existing connections and then click Add.

-
From the `DSL Modulation Type` menu, select VDSL.

-
If your welcome email advises that your service uses VLAN ID 100, tick Enable next to `VLAN ID` and enter VLAN ID:
100. Otherwise, skip this step.
-
From the `Internet Connection Type` menu, select PPPoE.

-
Enter your PPPoE Username and Password - this is your Pentanet authentication username and password, which you can find in your Pentanet welcome email. You can also find it in your customer portal if lost or forgotten.

-
Check Enable IPv6 and select DHCP from the `Addressing Type` menu.

-
Leave all other settings as their defaults, and you’re done! Hit Save and you should be online.
- Plug in the power adaptor and power on the device.
-
This section applies to all other connection types.
- Plug in the power adaptor and power on the device.
- Use the supplied ethernet cable to connect a computer to one of the yellow LAN ports. You can also connect wirelessly, however, we recommend an ethernet connection.
- Connect your Pentanet service to the blue WAN port on the back of your TP-Link.
- Using a web browser navigate to http://192.168.1.1, and log in with the username
adminand the passwordadmin. (If the default login doesn’t work you may need to factory reset your device). - Select the Advanced tab.

- Select the Network tab.

- Select EWAN from the menu.

- Delete any pre-existing connections and then click Add.

-
If your welcome email advises that your service uses VLAN ID 100, tick Enable next to `VLAN ID` and enter VLAN ID:
100. Otherwise, skip this step.
-
From the `Internet Connection Type` menu, select PPPoE.

-
Enter your PPPoE Username and Password - this is your Pentanet authentication username and password, which you can find in your Pentanet welcome email. You can also find it in your customer portal if lost or forgotten.

-
Check Enable IPv6 and select DHCP from the `Addressing Type` menu.

-
Leave all other settings as their defaults, and you’re done! Hit Save and you should be online.
- Plug in the power adaptor and power on the device.
Still stuck?
If you’ve followed the steps above and are still stuck, please reach out to support for assistance.